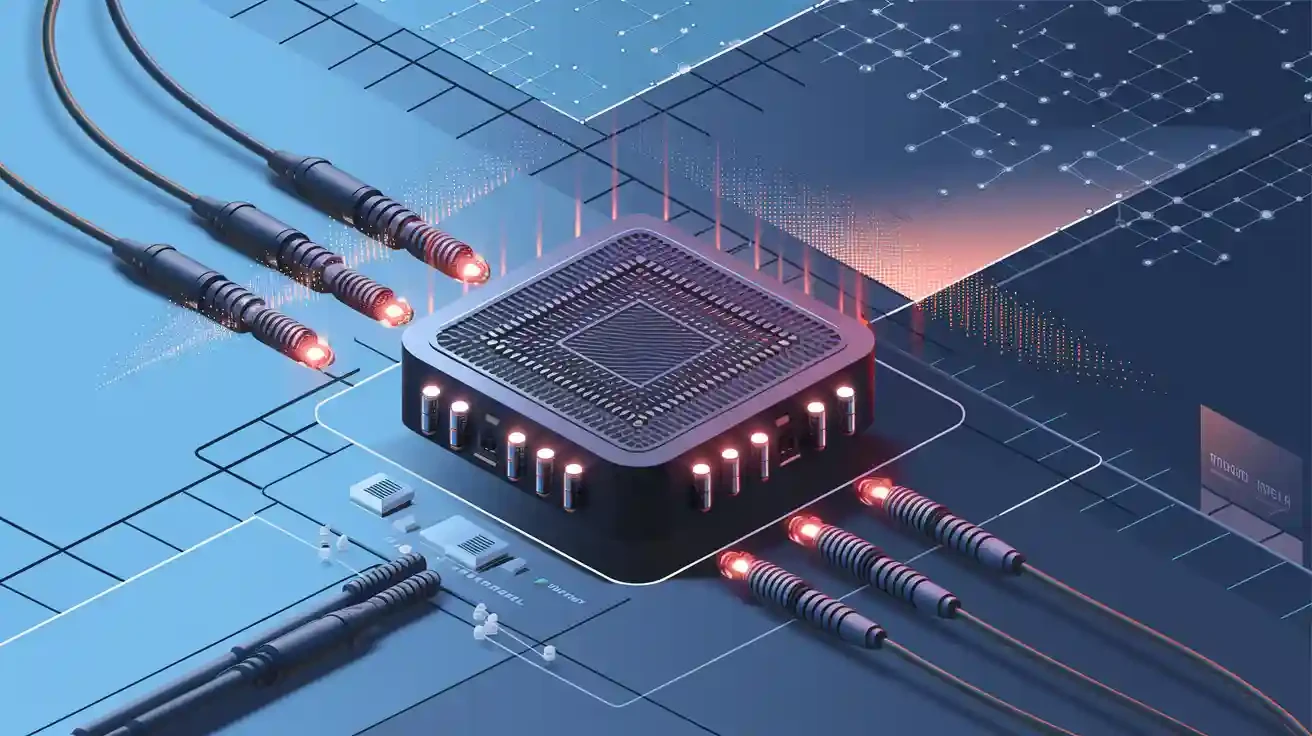
A flickering network connection. Unexplained packet drops. Intermittent slowdowns during peak hours. If you manage a fiber optic network, these issues can feel like chasing ghosts. Unlike copper cables, the problems in an optical link aren’t always visible to the naked eye.
Fear not! This guide will equip you with a systematic approach to diagnosing and resolving the most common optical link performance issues. By understanding the root causes, you can minimize downtime and ensure your network operates at its peak efficiency.
✅ Understanding the Key Metrics: The “Vital Signs” of Your Link
Before diving into troubleshooting, you must know what to measure. Every optical link has key performance indicators (KPIs) that act as its vital signs. The two most critical are:
Optical Power Level: Measured in decibels (dBm), this indicates the strength of the light signal.
Receive Power (Rx): Too high (saturation) or too low (weak signal) can cause errors.
Bit Error Rate (BER): This is the ratio of errored bits to the total bits transmitted. A high BER directly translates to poor performance and packet loss.
A healthy link operates within a specific optical power budget, which is the difference between the transmitter’s output power and the receiver’s sensitivity.
✅ Common Symptoms & Their Root Causes
Here’s a breakdown of the most frequent problems, their symptoms, and likely culprits.
Symptom | Possible Cause | Quick Check |
|---|---|---|
Intermittent Connectivity / Link Flaps | Dirty or damaged connectors, loose connections, faulty transceiver. | Inspect and clean connectors. Reseat the transceiver. |
High Bit Error Rate (BER) | Low received optical power, high link loss, dispersion, or a failing transceiver. | Check Rx power levels against the transceiver’s datasheet. |
Complete Link Failure | Fiber break, severe bend loss, transceiver mismatch, or complete transceiver failure. | Verify Rx power. If it’s zero or extremely low, suspect a physical break. |
Errors at High Data Rates Only | Exceeded chromatic or modal dispersion limit, poor quality transceiver. | Ensure your transceiver and fiber type are rated for the distance and data rate. |
✅ Your Step-by-Step Troubleshooting Workflow
Follow this logical sequence to isolate and fix the problem efficiently.
Step 1: The Basics – Physical Inspection
Never underestimate this step! Over 70% of optical link issues stem from physical layer problems.
Clean Connectors: Use a professional-grade fiber optic inspection microscope and cleaning tools. Dust particles can scatter light and cause significant loss.
Check for Bends: Ensure all fiber patch cords are free from tight bends, kinks, or pinches. The minimum bend radius is critical.
Verify Connections: Ensure all cables are securely seated in the transceivers and patch panels.
Step 2: Interrogate the Hardware – Reading the Diagnostics
Most modern SFP, SFP+, and QSFP transceivers come with Digital Diagnostic Monitoring (DDM), also known as DOM. Access this data via your network switch’s CLI or GUI. Key parameters to check:
Transmit Power (Tx Power): Is it within the expected range?
Receive Power (Rx Power): Is it within the receiver’s sensitivity range? This is the most telling metric.
Temperature & Supply Voltage: Abnormal values can indicate a failing module.
Step 3: Measure with Precision – Using an Optical Power Meter & Light Source
If DDM data points to an issue, confirm it with dedicated test equipment.
Use an Optical Loss Test Set (OLTS) or a power meter/laser source combo to measure the end-to-end link loss.
Compare the measured loss against your calculated optical link budget calculation. If the measured loss is higher, you have a problem in the physical path.
Step 4: Isolate the Segment – OTDR Testing
For longer links or when you suspect a fiber break or a bad splice, an Optical Time-Domain Reflectometer (OTDR) is your best friend. It provides a graphical “map” of the fiber, showing the location and magnitude of events like splices, connectors, and breaks.
✅ The Heart of the Link: Don’t Neglect Your Optical Transceivers
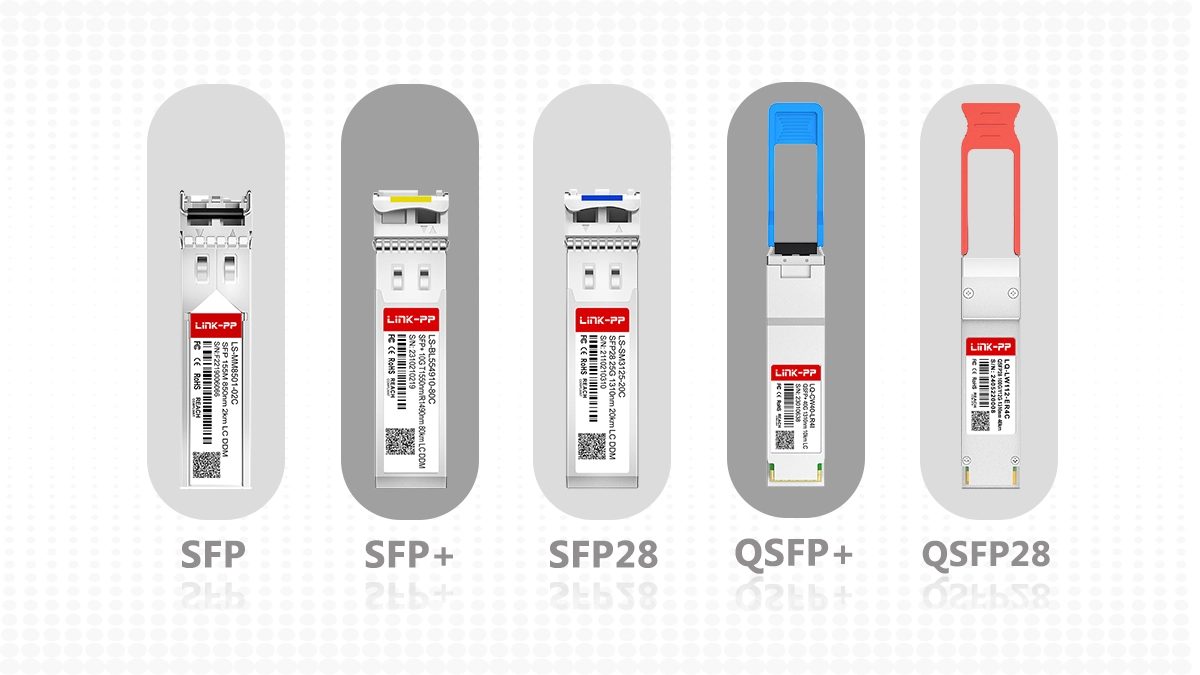
The optical transceiver is the critical component that converts electrical signals to light and vice-versa. It’s often the source of, or the solution to, performance issues. When selecting a transceiver, compatibility, quality, and performance specifications are paramount.
This is where choosing a reliable supplier makes all the difference. For instance, using high-performance, compatible modules like the LINK-PP SFP28-25G-LR for your 25G long-reach applications ensures stable output power and superior receiver sensitivity. This directly contributes to a healthier optical power budget and a more resilient link, reducing the chances of issues related to marginal performance. A quality LINK-PP transceiver is engineered to meet strict dispersion limits, which is crucial for maintaining low error rates over longer distances.
When to suspect a transceiver fault:
DDM values are consistently out of range.
The link works with one transceiver but not another (after ruling out polarity and wavelength).
You see a high number of CRC errors on the switch port.
✅ Proactive Maintenance: Preventing Issues Before They Start
The best troubleshooting is the kind you never have to do.
Document Your Links: Keep records of calculated and measured loss for every link.
Establish a Cleaning Regime: Mandate “inspect and clean” before every connection.
Monitor DDM Trends: Use network management software to monitor transceiver health over time and get alerts before a minor drift becomes a major outage.
Source from Reputable Vendors: Ensure your compatible optical transceivers come from vendors who guarantee full compliance with MSA standards and provide robust technical support. Investing in quality components from the start, such as those from LINK-PP, is a cornerstone of optimizing fiber network performance and avoiding costly downtime.
By following this structured approach, you can move from reactive firefighting to proactive network management, ensuring your optical infrastructure is not just functional, but truly robust and high-performing.
✅ FAQ
What should you do first when your optical link stops working?
Start by checking the physical connections. Make sure all cables and connectors are tight. Look for dirt or damage on them. Cleaning and putting connectors back in place can fix the problem fast.
How often should you clean fiber optic connectors?
Clean connectors every time you unplug or plug them in. For best results, check and clean all connectors once a month. Cleaning often stops signal loss and keeps your network strong.
Can you use any fiber optic cable with any device?
No, you cannot do that. The cable type and connector must match your device and transceiver. Always check if they work together before you connect them. Using the wrong cable can cause errors or even damage.
What tools help you find fiber optic cable faults?
Optical Time Domain Reflectometer (OTDR)
Visual Fault Locator (VFL)
Fiber inspection scope
These tools help you find breaks, bends, or dirt in the cable. They make it easier and faster to find and fix problems.